Be familiar with products, count workpieces, receive accessories and order accessories.
① First, get familiar with the product graphics, check all the dimensions and relevant technical requirements of the assembly, then understand the structure in combination with the assembly drawing, get familiar with the location of the materials on the assembly drawing according to the bill of materials of the assembly drawing, and get the screws and other auxiliary parts together with the workpiece.
② Check and clean the workpiece according to the workpiece number on the workpiece list, and check whether the part processing is complete according to the part drawing. If there is a lack, give feedback in time (the person in charge of assembly should store the workpiece list together with the product drawing).
③ After receiving the auxiliary material picking list, collect the auxiliary parts according to the list within 24 hours. If the auxiliary materials do not arrive, they should be fed back in time and tracked and fed back every 8 hours (tracking can be stopped until all the auxiliary materials in the list are received).
④ When the matched workpieces of all the received auxiliary materials also arrive, it is necessary to check whether they can be used or whether they are consistent, so as to avoid wrong ordering and wrong ordering. If there is any abnormality, it should be reported to the technologist in time.
⑤ For the workpiece with spring, check whether the spring hole has enough compression stroke before fitting.
⑥ The inclined guide post of the hard mold shall be assembled once before assembly.
2. Process sequence before assembly
(1) Cold water in and out sign, mold base product number, trial cold water, trial top pinhole and through hole.
① After the formwork arrives at the formwork storage area, the relevant person in charge of assembly shall make cold water in and out marks and mold base product number according to the product drawing within 8 hours.
② Clean the sundries in each workpiece, chute, screw hole and cold water hole to avoid damage during assembly.
③ The first cold water trial of plates a and B shall be completed at the first time before mold matching.
④ After the first assembly of the workpiece, the ejector pin of the moving die shall be completed in time to check whether the ejector pin is smooth and whether the through hole is unblocked (including flat ejector pin, cylinder driver pin, inclined ejector and other special ejector devices).
⑤ Check whether the countersunk depth, clearance and positioning of the ejector plate are consistent with the auxiliary materials.
⑥ Check the spring hole, strut hole and all through holes of the thimble fixing plate and bottom plate.
(2) A, B board clearance, positioner installation, check the ejector height dimension.
① Check whether there is proper clearance when a and B plates are matched according to the height and relative depth of the mold core and mold frame.
② The positioner shall be installed before the matching of a and B plates to ensure the matching accuracy.
③ After the movable formwork is installed, check the height dimension of the thimble according to the thimble diagram. And make the item size on the thimble processing sheet. Send it together with the thimble processing sheet.
3. Assembly process
① During assembly, the workpiece is evenly stressed and the gongs are tightened diagonally to ensure the benchmark level of the workpiece after installation and the absolute fit between the workpiece and the workpiece.
② Fill the moving parts with lubricating oil to ensure the smooth matching process of the mold.
③ When fitting the workpiece with a large number of contact positions and insertion positions, the strength of the first fitting is appropriate, so as to avoid damaging the mold due to errors caused by the previous process and affecting the progress and quality of the mold.
④ For the holes on the mold base that will not affect assembly and use, the edge of the slot frame should be chamfered. (except for thimble hole and countersunk hole)
⑤ During the assembly of the tilting roof, the code number should be unified, and one code should be used for the same group from the mold core to the tilting guide sliding plate, the thimble plate and the thimble plate sliding seat.
⑥ The sliding block, pressing block, locking block, inclined guide post, cylinder needle and similar workpieces on the mold shall be identified and coded.
⑦ When the top of the cylinder needle is thick, a certain height should be guaranteed if the product allows, so as to prevent the surface of the product from shrinking.
4. Datum of assembly
(1) Assembly basis of movable and fixed die:
① Check whether the datum edge of the movable formwork and fixed formwork is consistent with the drawing.
② Check the size of the moving mold core and the fixed mold core.
③ After the movable and fixed mold core is installed into the template, the plug gauge checks whether the movable and fixed mold core is close to the reference edge.
(2) Assembly basis of insert:
As shown in the drawing, the insert has allowance to remove the other side of the datum.
5. Red lead requirements for mold matching
① The surface of the shell and the gallbladder shall be uniform, and the red lead of this push side is slightly darker (that is, the gallbladder surface is a little tighter than the push side); The horn net shall be uniform, but not too tight; Small contact perforation, insertion position and red lead can be even.
② Rear shell: it depends on the glue feeding condition. Generally, the red lead at the contact position between the top mesh teeth and the rear terminal board plug is required to be a little tighter than the pushing side, and the mesh teeth on both sides can be even. The thickness of all pressure bearing blocks should be slightly higher than that of push square (0.03mm ∽ 0.005mm).
6. End of assembly
① Fill in the mold assembly form before the completion of assembly and send it to the relevant responsible person in time (the same for modifying the mold)
② Check again whether the ejector pin plate is smooth, and whether the row position and inclined top are smooth (the same for modifying the mold)
③ Check the moving parts of the mold, including the hot runner movement system (the same for modifying the mold)
④ Make the product code and cavity distinguishing code on the mold core as required (send the hard mold to EDM for processing, and process the outer order according to the process instructions). The cavity distinguishing code is English character code, and the mold distinguishing code of the same product is digital code. Special circumstances must be approved by the technologist.
⑤ Check whether there are burrs and buckles at the fitting place, and repair the mold fillet at the turning point of the latent gate.
⑥ Check whether the row position is smooth after the row position pressing block is fastened.
⑦ The complete set of workpiece drawings, assembly drawings and product drawings shall be cleaned within 1 hour after the completion of the first assembled mold. The drawings shall be stacked neatly according to the size of “A4”. The fixed mold drawings are in a stack, the dynamic mold drawings are in a stack, and the assembly drawings and product drawings are in a stack. The mold modification drawing is stacked with all the data of the current modification.
⑧ The workpieces that cannot be installed before the mold test due to special conditions shall be properly handled after being approved by the person in charge of the repair module. The workpieces that should be retained shall be packed in the workpiece box and placed in the storage area of the mold repair workpieces for the next installation.
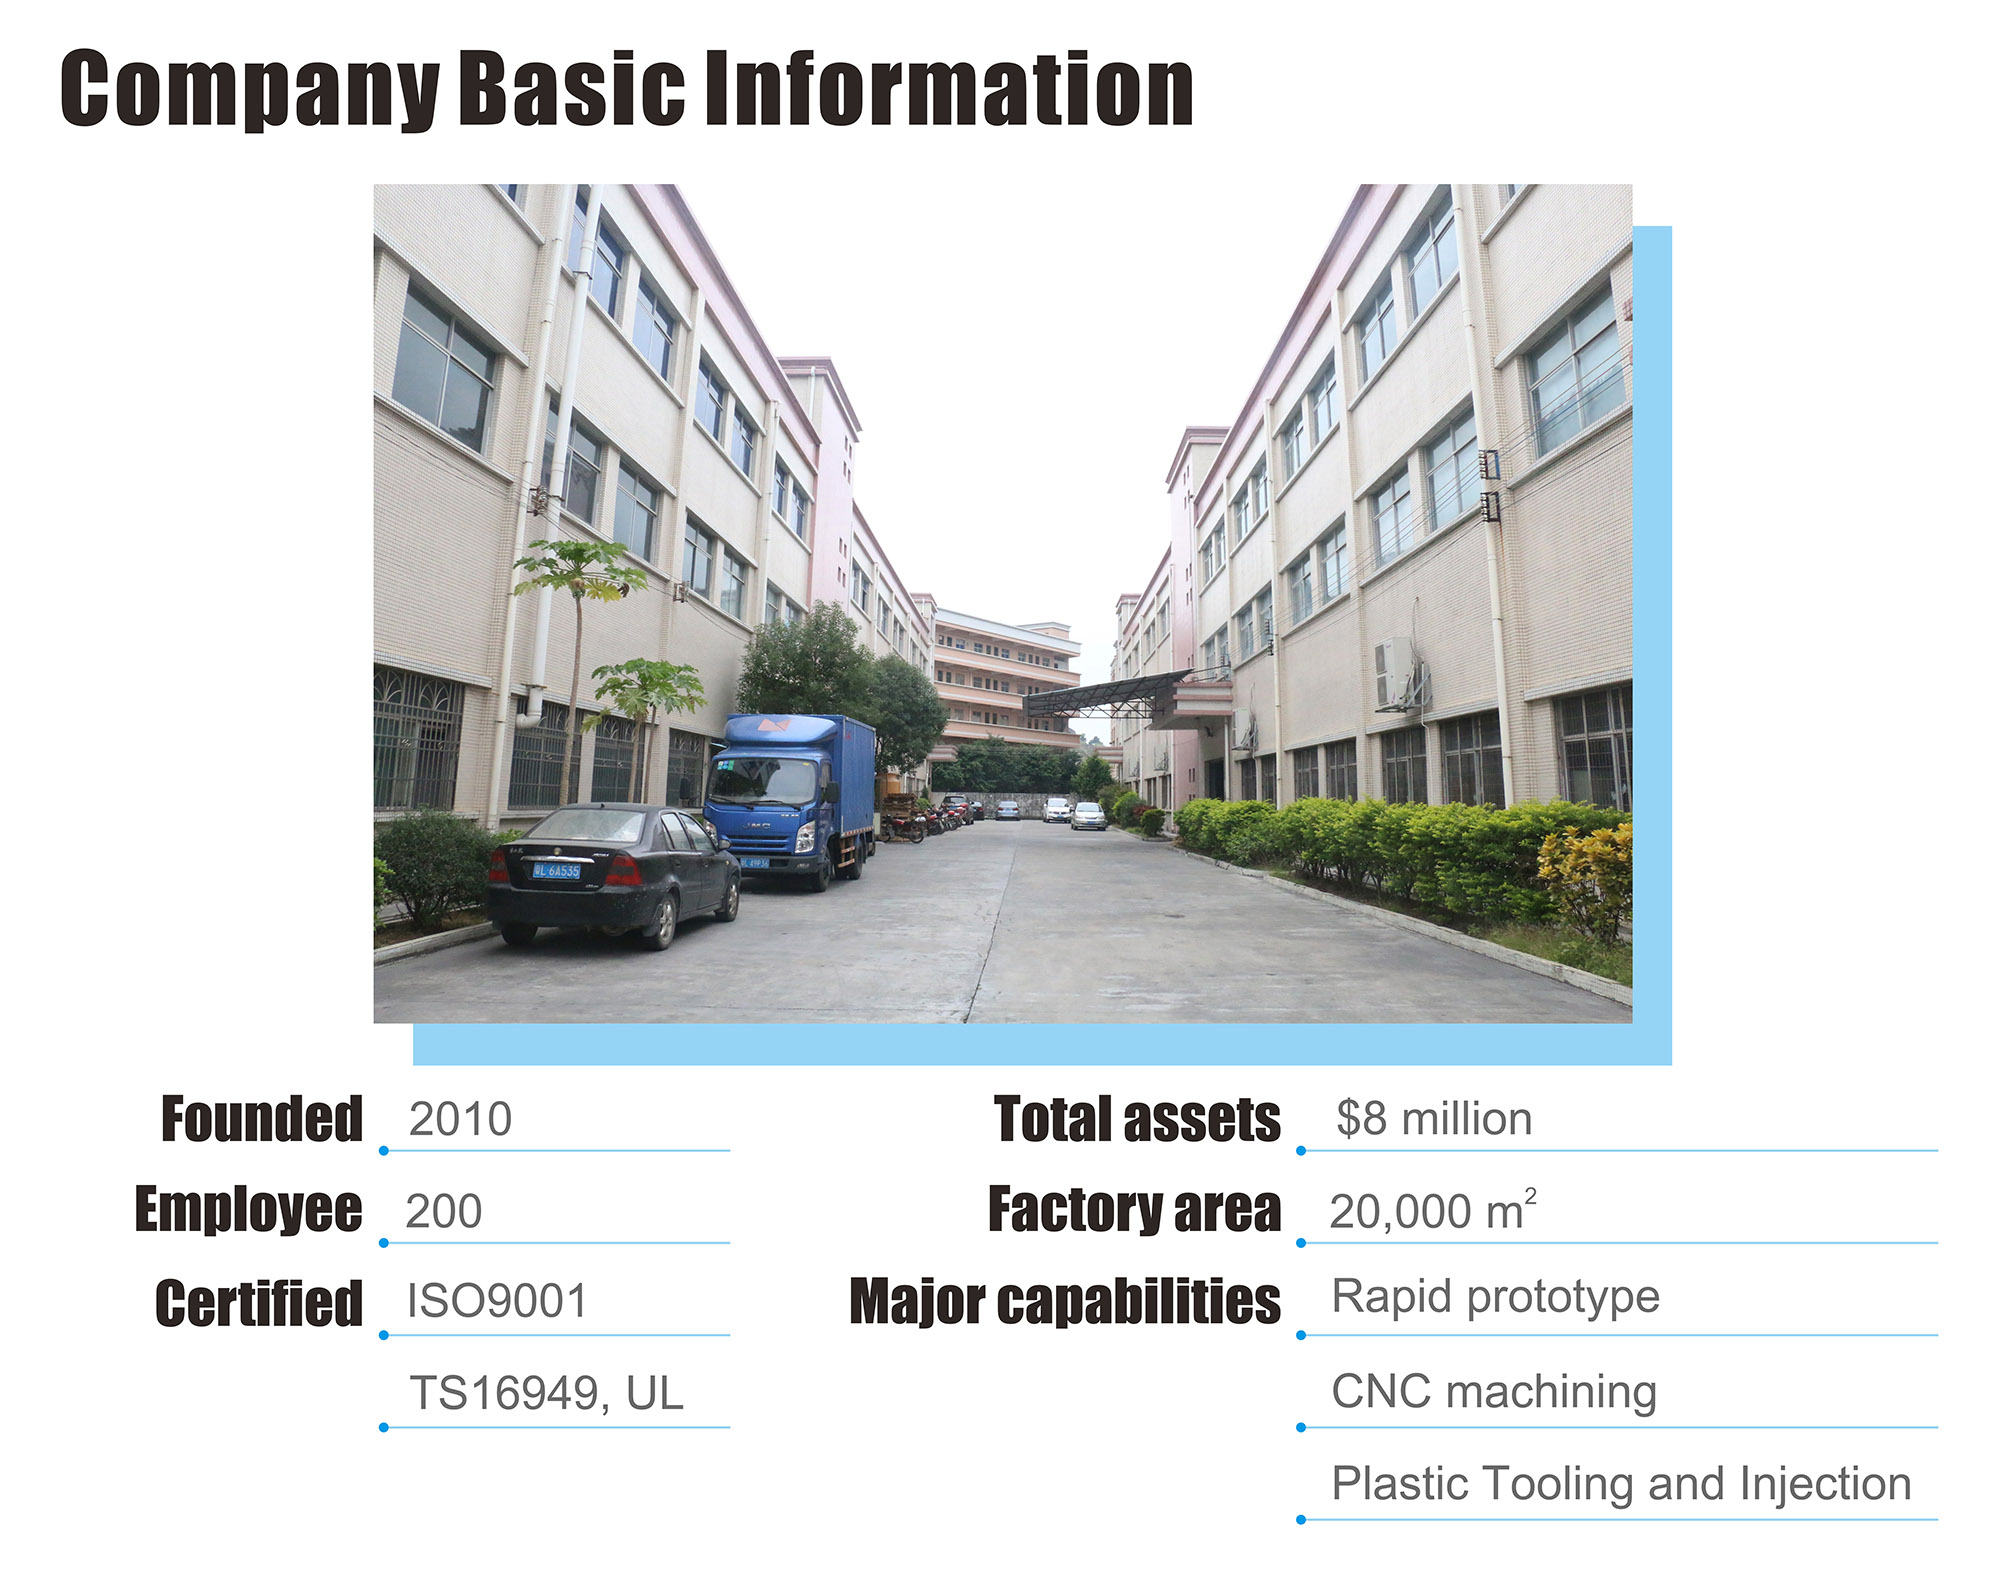
About Huizhou Dj Molding Co., Ltd
Dj Mold is a China mold maker of plastic molds- injection mold, die casting moulds, plastic blow molding, rotational molding, medical plastic injection molding, two shot plastic injection molding, insert molding, overmolding, metal injection molding, micro injection molding, powder injection molding, ceramic injection molding, liquid injection molding, husky injection molding, household mold, casting mold, die mold tool, custom molds, china moulds, rapid prototyping tooling, plastic prototyping tooling, punch press tooling, die and tooling for mobile/ cell phone parts, automotive parts, vacuum cleaners, rechargeable tools, telephones, copiers, computers, multimedia speakers, and many other electronic products and household appliances. And also a plastic product manufacturer, mold manufacturer China– plastic parts, plastic water tank, plastic balls, plastic containers, plastic buckle, plastic anchor, plastic hanger, plastic spoon, plastic pipe fitting, plastic tumble, plastic tableware, plastic cups, plastic bottles, plastic tray, plastic cosmetic container, plastic case, plastic food container, plastic chairs, plastic caps, plastic cap closure, plastic tubes, plastic water pipes, plastic knobs, plastic tubing, plastic utility boxes, plastic racks and so on.
Contact:
Person: James Yuan
Company: Huizhou Dj Molding Company Limited
Add: LongGang Village,LongXi Town,BoLuo County,HuiZhou City,GuangDong Province, China
Tel: 86-752-6682869
Email: [email protected]
Site: https://www.jasonmolding.com/custom-injection-molding/