1、 射出成形機の一般的な問題
1. 型締りなし
① 安全扉前の走行スイッチの点検・修理.
②電装BOX内の24v5a電源を確認, ヒューズと電源ボックスを交換する.
③弁体の固着の有無を確認し、弁体を洗浄する.
④ I かどうかを確認する / Oボードに出力があり、電磁弁が充電されているかどうか.
⑤油圧式安全スイッチが押されているか、メカロックレバーのバッフルが開いているかを確認する.
2. 開閉機がねじれている
①潤滑油配管が外れていないか確認する. もしそうなら, オイルパイプをつなぎ直します.
②潤滑油の量が少ない, そのため、潤滑油の量を増やすことをお勧めします. することをお勧めします 50 金型に一度油を塗るか、十分な量の潤滑油を手動で追加します.
③クランプ力大, 金型に大きな型締力が必要かどうかを確認する, クランプ力を低く調整する.
④アンプ基板の電流を調整する, 現在のパラメータが合格基準を満たしているかどうかを確認します, 現在の値を再調整します.
⑤平行度が許容範囲外の場合, 1枚目と2枚目のプレートの平行度が合格基準以上かダイヤルゲージで確認; 平行度を調整する.
3. 金型を開く前に数秒待ちます
①起動速度が遅い. スクリュー減衰が大きすぎるかどうかを確認し、スクリュー減衰穴を調整します.
②ダンピングスクリューの真ん中の穴が大きすぎる. Y 穴ネジのダンピングが大きすぎるかどうかを確認します. ダンピングスクリューを細いセンターホールに交換.
4. ロック解除ダイのクロール
① . セカンドプレートのガイドレールとコアリングコラムが大きく摩耗している. 二段目ガイドレールとコアリングコラムの確認, 2 番目のプレートの銅製スリーブとコアリング カラムを交換します, そして潤滑油を入れる.
② 型開きの速度と圧力が適切に調整されていない. 流量設定時 20 そして圧力は 99, 金型ロックの 2 番目のプレートはクロールしないでください。. 流量比例弁穴またはパイロット弁穴を調整し、比例弁の線形電流値を調整します.
③パイプラインとオイルシリンダーに空気が入っている, そして排気.
5. 金型を開けません
①ダイスのロック解除速度を上げる, 圧力流量が小さすぎて適切に調整されていない. ロック解除金型の速度と圧力が適切かどうかを確認します, ダイのロックを解除する圧力と速度を上げます.
② . 型締の電子定規のゼロ位置を変更. ねじり後、型締矯正機がゼロ位置で終了するか確認する, 電子定規のゼロ位置を再調整します.
③ヒンジが逆になっていないか確認する.
6. 自動生産: ミドルノートダイスがきつくなったり緩くなったりします
①モード調整用電磁弁の内部漏れをチェックし、電磁弁が正常かどうかを確認します。 “〇” タイプ. 電磁弁を交換するか、作動していないときに電磁弁に24Vが供給されているかどうかを確認してください. 金型マスター微信: マニフェスト
②手動操作時の金型調整動作の有無を確認, バルブが詰まっているかどうかを確認します.
7. 型締後に他のアクションが働く場合, 全自動で遅い型開き
① . オイルプレートが漏れる. クイッククランプバルブの点検または交換、オイルプレートの交換.
②型開弁が漏れたら, オイルポンプを起動し、金型のロックを停止します. 射出テーブルまたは接着剤射出アクションを押して、2番目のプレートが後退するかどうかを確認します. 型開油弁の交換. 通常は, ロック解除ダイスが動かない.
8. 型締時の型開動作のみ
① . 間違った回線を接続する, バルブに24VDCがあるかどうかを確認してください, ラインと配線を確認してください.
② . バルブが詰まっているか、バルブ要素が正しく取り付けられていない場合, バルブエレメントが正しく取り付けられていないか、ブロックされていないか確認してください, バルブエレメントを再取り付けするか、清掃してください. 通常の状態では, 金型のロック解除アクションは不動です.
9. 型締まり不良
① . A と B の穴が適切に調整されていない. システムフローが 20 そして圧力は 99, 型のロック動作がクロールするかどうかを観察し、バルブを再調整または交換します.
②オイル回路に空気が入っている. オイル回路内の空気の音を聞く, オイルに気泡が入っていないか確認してください, そして排気.
③電流計の電流値が上昇下降や回転速度に比例するかを観察しながら増幅板を調整する.
10. 金型ロックは高圧を持ち上げることができません, ストロークを超える
① . リミットスイッチが限界を超えた場合, 金型の調整が適切かどうかを確認し、適切な金型の厚さを調整します; モーターが正常な状態かどうかを確認します.
②油圧限界がストロークを超えた場合, 電子定規のストローク位置が適切か確認する, 金型調整が適切かチェック, 金型を前方に適切に調整します.
11. 手動型開終了, 半自動型開閉終了
①型開弁が漏れたら, 射出台を手で叩いて操作する. セカンドプレートが後退するかどうかを観察し、型開弁を交換します.
②電子定規の最大ストロークと圧力流量の確認.
12. シンブルアクションなし
① . シンブルのリミットスイッチが壊れている. マルチメータを使用して、24V 近接スイッチがオンになっているかどうかを確認します. エジェクターピンリミットスイッチを交換する.
② . バルブが詰まっている場合, エジェクターピンを六角レンチで押し込み、弁体が可動するか確認する, 圧力弁を清掃します.
③ . エジェクターピンのリミットレバーが壊れている. 機械停止後, リミットレバーを手で抜き差しする.
④ . シンブルスイッチがショートしている. マルチメータを使用して、 0 シンブルスイッチの対地電圧, そしてシンブルスイッチを交換.
⑤電子定規の位置がずれている.
13. 半自動運転中にエジェクターピンが暴走
①エジェクタピンプレートの破損. 回路が正常で、正常な電圧が dv24v であるかどうかを確認します. エジェクターピンプレートの修理.
② . 回線が切断されました. スイッチの接続線とIの接続線を総合的にチェック / オーボード. 配線を確認して再接続する.
③金型が動くか確認.
④シリンダーピストンロッドのシールリングに損傷がないか確認する.
14. 型開き時の騒音が大きい
①比例直線性が悪い, 開閉時の圧力と流量の調整が不十分. パラメータで斜めの立ち上がりと立ち下がりを確認し、パラメータで斜めの立ち上がりと立ち下がりを調整します.
②型締機ヒンジの潤滑不良. コアリングカラムの潤滑を確認してください, 2番目のプレートのスライドフットと機械のヒンジ. 潤滑と給油回数を増やす.
③型締力が大きすぎる場合, 金型に応力がかかったときの型締力を確認する, 製品の状態に応じてクランプ力を下げてください。. 時間と位置が適切かどうかを確認する.
④ 1 枚目と 2 枚目のプレートの平行度のずれを確認する. セカンドプレートとヘッドプレートの平行誤差を調整する.
⑤型開速遅~速の設定位置が小さすぎて速度が速すぎる. 遅型開~速型開の位置が適正か、遅型開速度が速すぎないかを確認する. 遅型開位置を長くし、遅型開速度を下げる.
15. 半自動, と 2 型ロック アクション
① . 型ロック バルブ要素が完全にリセットされていない. 型締動作完了後、次の動作が連続しすぎていないかチェック. 次のアクションの遅延時間を増やす.
2、 モジュール調整の故障問題と対処法
1. 金型調整不可
①メカレベルと平行度が許容範囲外. レベル定規と角度定規で確認. 平行度とレベルを調整する. (大型モデル用, 小さいモデルは影響が少ない)
②押え板とダイアジャストワイヤーの隙間が小さい. Measure with a feeler gauge. Adjust the clearance between pressing plate and nut, and the clearance between mold adjusting nut and pressing plate (clearance ≤ 0.05m).
③ Burning nut: check whether the nut can rotate and generate heat and whether there is iron powder. Replace the nut.
④ Adjust the upper and lower support plates. Disassemble the locking nut of the support plate for inspection. Adjust the adjusting nut.
⑤ The I / O board is broken. Check whether there is a signal at the output point on the computer page. Repair the electronic board.
⑥ The mold adjusting valve core is stuck. Remove the valve for inspection. Clean the valve.
⑦ The mold adjusting motor is broken: check the oil motor. Replace or repair the oil motor.
3、 Fault problems and treatment methods of injection part
1. 接着剤の注入なし
①ノズルが異物で詰まっている. ノズルが詰まっていないか確認する. ノズルの清掃または交換.
②分注ノズルが壊れている. フランジを分解し、ゴムノズルが壊れていないか確認してください. 分注ノズルを交換する.
③のりの注入方向弁が固着している. 方向弁の電圧が 24V で、コイル抵抗が 15-20 おお. 普通なら, バルブが詰まっている. バルブを清掃するか、方向バルブを交換してください.
④ゴム射出ピストンロッドが折れている. ゴム射出ピストンロッドのナットを緩め、ピストンロッドが折れていないか確認する. ピストンロッドを交換する.
⑤バレル温度が低すぎる. 実際の温度が材料に必要な融点温度に達しているかどうかを確認します. バレル温度をリセットする.
⑥ゴム射出ピストンのオイルシールの破損. ピストンオイルシールが損傷していないか確認してください. オイルシールを交換する.
2. 接着剤の注入開始音が大きい
①のりの射出開始速度が速すぎる. 糊の注入開始速度の変化を観察. 接着剤の注入流量と速度を調整する.
②オイル回路に空気が入っている. 各アクションに振動があるかどうかを観察します.
3. 接着剤の注入が終了し、接着剤が転写されるときの音が大きい
① : グルー注入時のアクション変換速度が速すぎる. 接着剤注入時の保圧が上がっているか確認. 保圧を上げる, 接着剤注入段数の調整, 溶融接着剤の遅延を追加します.
4. 不安定な接着剤注入
①オイルシリンダーのオイルシールが摩耗している. Observe the pressure holding of the pressure gauge. オイルシールを交換する.
② The rubber nozzle and rubber ring are worn. Detect with two times of glue injection. Replace the three-piece set of dispensing nozzle.
③ The barrel is worn. Use the two-time nozzle to detect the wear, and then check the wear condition of the material remover. Replace the melt cartridge.
5. Semi automatic no glue injection action
① The advance of the shooting platform is not terminated. Check whether the travel switch in front of the injection table or the mold locking is normal. Check the circuit and travel switch.
② , disconnection. Check the wiring. Rewire.
③ And the mode locking is reset to zero. When the machine hinge is straightened, the position is 0. Readjust the zero position of the electronic ruler.
6. During semi / full automatic operation, バレル温度が徐々に設定値を超える
①のりの溶けるスピードが速すぎる. タコメーターを使用して、スクリュー速度が速すぎるかどうかをテストします. 溶解速度を下げる.
②背圧が大きすぎる. 金型マスター微信: ムジュダレンは製品と背圧計の値を観察し、背圧を可能な限り下げる.
③スクリューとバレルのフリクション. ネジとバレルを取り外し、摩耗を確認します. バレルまたはスクリューを交換する.
④不適切な温度設定. 実際の温度が低すぎるかどうかを確認する. 温度をリセットする.
⑤プラスチックのせん断熱が大きすぎる. 前部と中部の温度上昇を確認. 溶融接着剤の回転数と背圧を下げる.
7. 接着剤が溶けたらスクリューリング
① The transmission shaft is installed improperly. Separate the screw and check whether there is any sound. もしそうなら, remove the plane bearing. Reassemble.
② The plane bearing is damaged. Separate the screw and check the rotating part for noise. Replace the flat bearing.
③ Screw bending. Remove the screw for inspection. Replace the screw.
④ The screw has iron filings. Disassemble the screw for inspection. Clean the screw.
⑤ Check the coaxiality of the adjusting screw with a dial gauge. About 0.05mm runout is normal.
8. Unable to melt adhesive
① Burnt bearing or drive shaft burst. Separate the screw and re melt the glue and observe the sound. Replace the bearing.
② The screw has iron filings. Separate the screw from the barrel and check whether there is iron scrap on the screw. Remove the screw for cleaning.
③ . the melt valve is blocked. Top the valve core with a hexagonal key to see if it moves. Clean the solenoid valve.
④ The glue motor is damaged. Separate the glue motor, when the glue does not rotate. Replace or repair the glue motor.
⑤ The heating ring is burnt out. Use a multimeter to check whether it is normal. Replace the heating ring.
⑥ The plug is loose. Check whether the fuse oil plug is in poor contact. Tighten the plug. And check whether there is 24 power supply.
9. Back pressure cannot be adjusted during glue melting
① The back pressure valve is broken. Increase back pressure during blanking. Check whether the screw retreats. Clean the back pressure valve.
10. The product has black spots
① The screw has carbon deposits. Check and clean the screw and barrel.
② There are carbon deposits in the barrel and the auxiliary equipment is not clean. Check the feeder for dust. Polishing barrel and cleaning auxiliary machine.
③ The components of the dispensing nozzle are corroded. Check the dispensing nozzle. Replace the dispensing nozzle assembly.
④ There are carbon deposits on the flange and nozzle. Clean and replace.
⑤ Raw materials are not clean. Check the raw materials. Change raw materials.
⑥ The temperature is too high, and the back pressure of the melt adhesive is too large. Check the temperature of each section. Reduce temperature and back pressure.
11. Poor screw color mixing
① . questions between materials. Check the toner quality. Replace materials.
② The temperature is too low. Check the actual temperature and the required temperature. Increase the temperature.
③ The back pressure is too low. Check the back pressure. Increase the back pressure.
④ Short mixing time. Lengthen mixing time or replace with mixing head.
⑤ The rotation speed is too low. Check the screw speed. Increase the screw speed.
12. No glue pumping action
① Large back pressure. Check the speed of spray nozzle during manual glue melting. Reduce back pressure.
② , disconnection. The glue extraction valve is disconnected.
③ The valve element of directional valve is not flexible. Press the valve element with an Allen wrench to check whether it can move freely. Clean the valve element.
13. When the glue is melted, the motor swings its tail
① The bearing is damaged. Observe whether there is abnormal sound during glue melting. Replace the bearing.
② The inclined ball bearing is not adjusted properly. Observe whether the drive shaft swings. Readjust the clearance.
③ Screw deformation. Separate the screw and observe the rotation of the transmission shaft. Replace the screw.
④ The copper sleeve of the rear plate of the shooting platform is worn, two guide rods are deformed or the fixing screws are loose. Observe whether copper powder is grinded out from the second plate copper sleeve. Replace the copper sleeve.
14. Glue injection action twice
① The aperture of the nozzle is too small, and the resistance is too large when spraying glue.
② The heating ring of the nozzle is damaged. Check or replace the heating ring.
③ Check whether the pressure and flow output is changed.
15. Cause of screw breaking
① . the firing movement is not synchronized, and the firing movement is adjusted to be synchronized ± 0.05
② . the glue injection cylinder is not synchronized, adjust the synchronization of the glue injection cylinder ± 0.05
③ The raw materials do not match the screw performance of the injection molding machine.
④ The temperature does not reach the melting point of the material used.
⑤ When the temperature has just reached, turn the screw.
⑥ If the heating cylinder is burnt out and does not heat, check whether there is anti cooling function and replace the heating cylinder.
4、 Fault problems and treatment methods of hydraulic part
1. Hydraulic oil contamination
① Air is mixed in the oil. This is mainly due to poor tightness of pipe joints, hydraulic pumps and hydraulic cylinders. There are bubbles on the oil tank.
② Water is mixed in the oil. The oil will turn milky white. The main reason is that the cooler leaks water or the environment is wet. 金型マスター微信: マニフェスト
③ Solid impurities are mixed in the oil. It mainly includes cutting chips, welding slag, rust pieces and metal powder.
④ And colloidal substances are produced in the oil. The main reason is that the seal is eroded or deteriorated by the oil, resulting in the formation of colloidal substances in the oil, which often block the small holes.
2. What is the effect of temperature on the viscosity of hydraulic oil
① When the temperature rises, the viscosity of the oil decreases. The change of oil viscosity directly affects the performance and leakage of hydraulic system. (normal temperature is between 30 〜 50 ℃)
3. Creeping fault
① Poor lubrication condition. “Stop – taxi – stop” appears. Increase the amount of lubrication.
② The hydraulic system is immersed in air. Exhaust is required.
③ Mechanical rigidity. Parts wear and deform, causing friction changes and creeping. Replace parts.
4. The oil pump rings after starting production for a period of time
① The quality of oil suction pipe is poor or the throat code is not tightened. Remove the filter screen and check whether it is deformed. Whether the oil suction pipe is layered. Replace the oil pipe and filter screen.
② The filter screen is not clean. Whether there are too many impurities in the hydraulic oil. Clean the filter screen.
③ Wear of oil pump: check the wear of oil distribution plate and rotor end face of oil pump. Replace the oil pump.
5. After the motor is started, the pressure gauge has pressure but no flow
① The Da board is damaged. Repair the Da board.
② The overflow valve is stuck. Remove the overflow valve for inspection, clean the overflow valve or replace the pressure gauge for inspection.
6. No pressure flow
① Check whether the rotation direction of motor oil pump is normal.
② Check whether there is oil leakage.
③ Check whether the pressure flow valve has current.
④ Check whether the pressure valve core with hexagon socket is pressurized, replace or clean it.
恵州Djモールディング株式会社について。, 株式会社
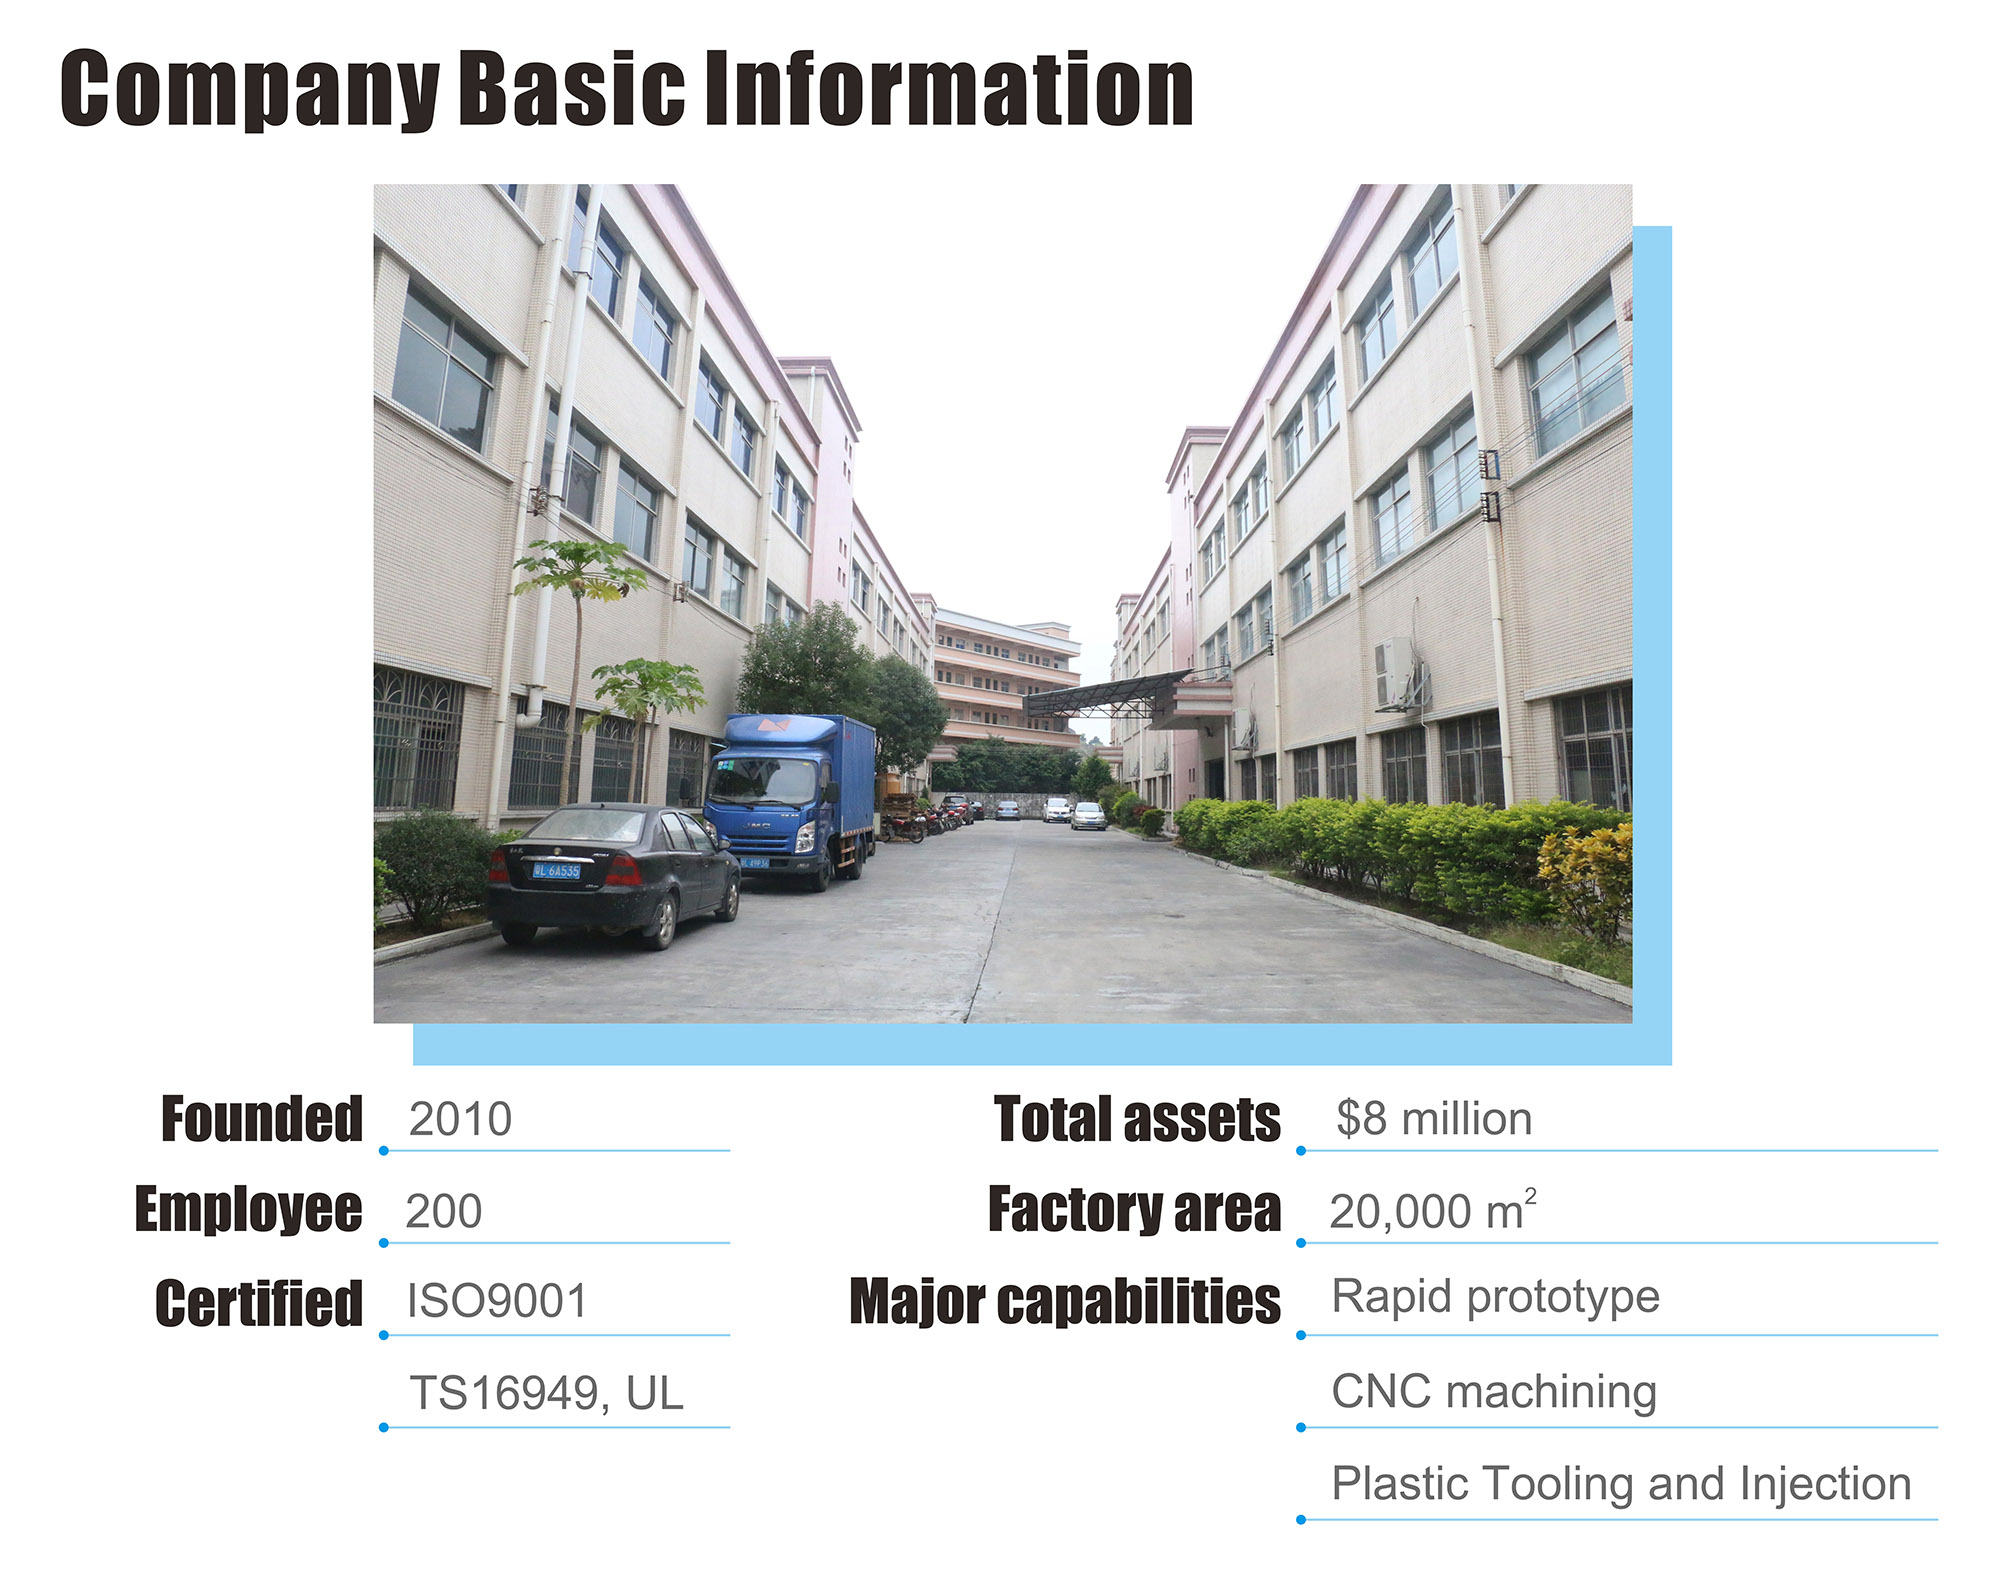
Djモールドは 中国の金型メーカー プラスチック金型の- 射出成形金型, ダイカスト金型, プラスチックブロー成形, 回転成形, 医療 プラスチック射出成形, ツーショット プラスチック射出成形, インサート成形, オーバーモールド, 金属射出成形, マイクロ射出成形, 粉末射出成形, セラミック射出成形, 液体射出成形, ハスキーインジェクションモールディング, 家庭用カビ, 鋳造金型, ダイモールドツール, カスタムモールド, 中国のカビ, ラピッドプロトタイピングツール, プラスチックプロトタイピングツーリング, パンチプレス工具, 携帯電話/携帯電話部品用の金型と工具, 自動車部品, 掃除機, 充電式ツール, 電話, コピー機, コンピューター, マルチメディアスピーカー, および他の多くの電子製品および家電製品. また、プラスチック製品メーカー, 金型メーカー中国- プラスチックの部品, プラスチック製の水タンク, プラスチックボール, プラスチック容器, プラスチックバックル, プラスチックアンカー, プラスチックハンガー, プラスチックスプーン, プラスチックパイプフィッティング, プラスチックタンブル, プラスチック製食器, プラスチックのコップ, ペットボトル, プラスチックトレイ, プラスチック化粧品容器, プラスチックケース, プラスチック製の食品容器, プラスチック製の椅子, プラスチックキャップ, プラスチックキャップクロージャー, プラスチックチューブ, プラスチック製の水道管, プラスチック製のノブ, プラスチックチューブ, プラスチック製ユーティリティボックス, プラスチックラックなど.
連絡先:
人: ジェームズ・ユアン
会社: 恵州Djモールディングカンパニーリミテッド
追加: 竜崗村,Long西町,博羅県,恵州市,広東省, 中国
電話: 86-752-6682869
Eメール: [email protected]